Post by onegoldfish on Dec 24, 2012 21:08:00 GMT -5
So the other day I decided that the mirrors on the V needed to change. I had always wanted to install turn signal LEDs into them, as well as green ones to go with my doors, but never could figure a way of doing it without removing it. So I figured what the hell, I’ll do the paint job at the same time. This how-to briefly describes the LED wiring, under the assumption that you know some circuit terminology, the actual wiring of the green door LED’s is described through another thread I used awhile back for it, found here: Nico Dome Light tutorial.
The disassembly (and wiring) in the FSM is quite handy, and actually how I figured this entire project out.
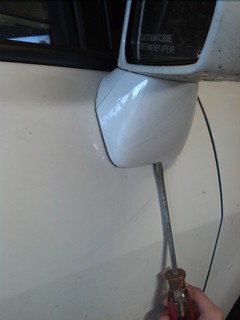
First insert a flat tool into a small slit on the bottom of the plastic cover below the mirror, put some cloth down to avoid scratching the car, and just wiggle around till its freed. There are 3 hooks holding it in, first lift the plastic cover upwards to disengage the top hook, and downwards for the other two.
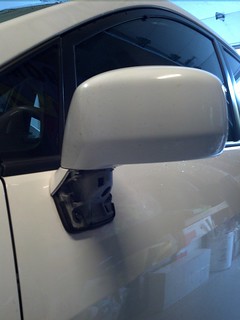
Once off it will look like this. 3 bolts, 2 of which are on the outside.
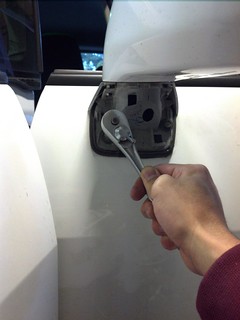
Other bolt is located inside, on the other side of the door panel (circled in red in the top right). The harness connector has been circled in red as well, and the small green clip circled in red needs to be popped inward to release the mirror wire (make sure you are holding the mirror with something!) Door panel removal pics can be found here: NVF door panel leds
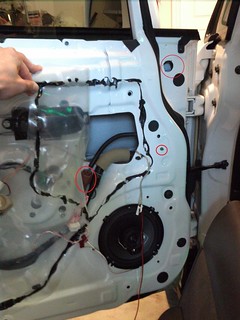
Lift it away slowly, and you will get this. There is one more small clip holding the mirror assembly to the car door (circled in red), just rotate the mirror upward and it should disengage easily.
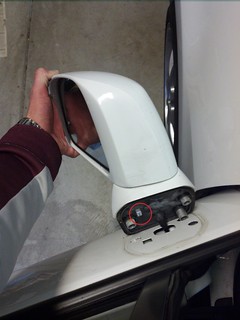
Finally removed.
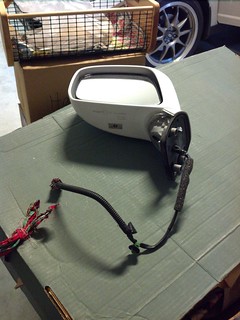
The mirror disengages by inserting a small flat head under the middle on the bottom of the mirror glass (4 small clasps holding it into the 2 small grooves at the top that it is hinged into).
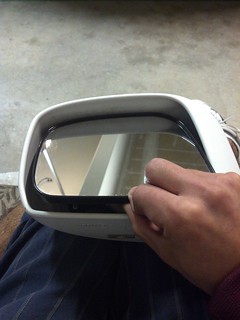
Pull away rubber seal (no need to remove it), and insert LED wires (I used a CAT5 cable due to minimal current requirement) from the bottom and into the mirror housing, make sure to pull yourself some slack.
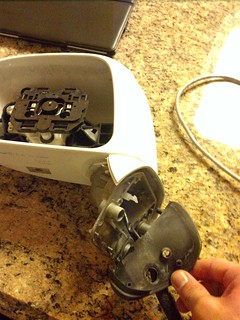
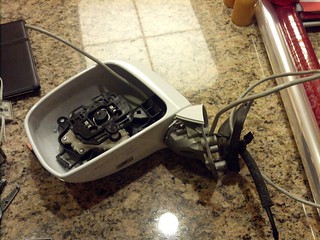
Strip wire connects, and crimp/solder the respective wires to the LED lead wires, I ran two different pairs of wires to the green and amber LEDs due to not knowing the car’s wiring yet and also leaving room for flexibility for wiring from within the door (much easier than the mirror). Hide the LED’s inside the mirror body; I put green on the inside for a halo glow, and amber on the bottom outside for an edge lighting.
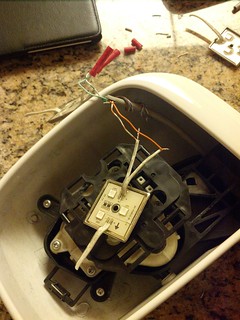
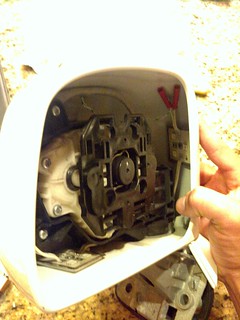
Dont forget to TEST your LED wiring! Gotta make sure the LED's work as expected, easy way is to just tap the wire leads to a 9v battery to make sure it lights up.
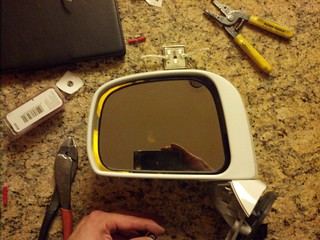
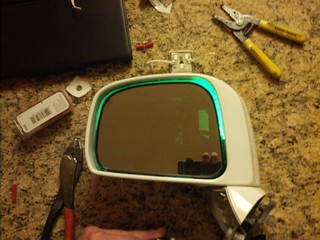
Now time to paint. I taped off part of the mirrors, dividing them at the apex of its concave shape, forgot to take a picture of that specifically though. I then sprayed 2 solid coats of black plastidip, before realizing I needed to remove the masking tape immediately to get a solid crisp line.
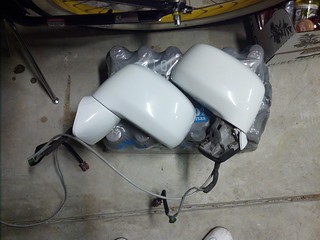
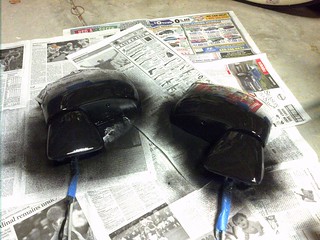
Finally managed to get all the tape off, and then hung upside down to dry since both sides now had paint on them.
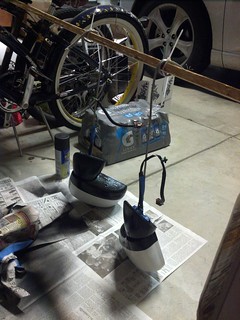
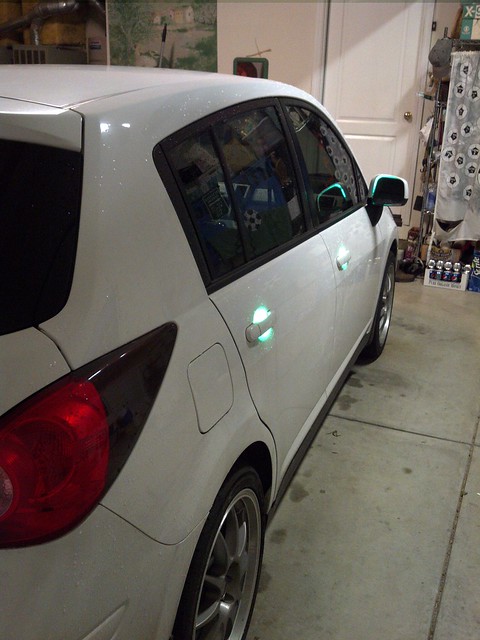
Arose in the morning to find it all nice and ready, feed the wires into the door, and reassembled in the opposite manner of the disassembly. when pulling the wires through the door, remember to weave it AROUND the window rails, otherwise something will have to give when you attempt to open the window. so plan ahead now to avoid cleanup later. Here is the final product installed onto the door.
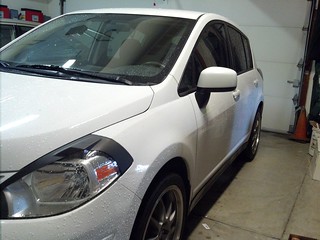
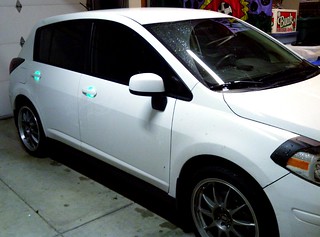
The wiring of the green LED's simply tapped into the previous door LED wires that I had: power to power, ground to ground. The turn signal setup was new, but i already had an extra wire going through the grommet i could use, so i didnt have to deal with anything extra there. the ground for the amber LEDs i just connected to a bolt in the door chassis. for wiring the amber LED's to the BCM, turns out the wires (circled in green) are right by the dome light wires. verified this through the FSM and the color codes on the wires (the two you need are White and Violet)
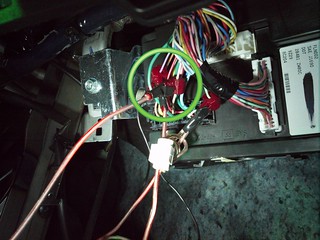
FSM turn signal wiring diagram

Turn signal LED animation of the flashing in broad daylight.
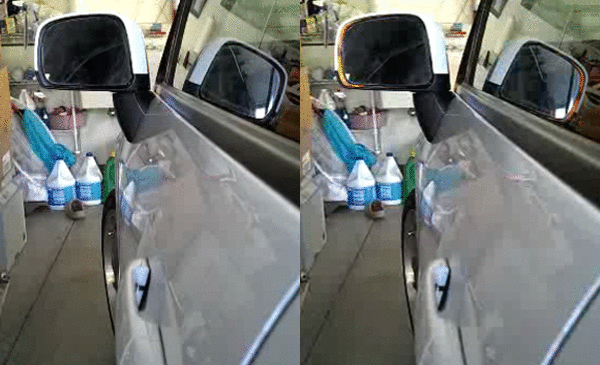
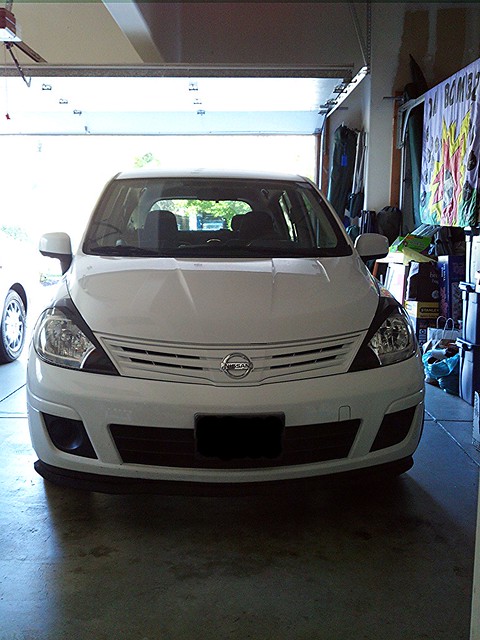
AND FINALLY DONE goes perfect with my painted grill and eyelid covers, gives a nice flow to the cars shape.
thoughts? questions? lemme know!
The disassembly (and wiring) in the FSM is quite handy, and actually how I figured this entire project out.
First insert a flat tool into a small slit on the bottom of the plastic cover below the mirror, put some cloth down to avoid scratching the car, and just wiggle around till its freed. There are 3 hooks holding it in, first lift the plastic cover upwards to disengage the top hook, and downwards for the other two.


Once off it will look like this. 3 bolts, 2 of which are on the outside.

Other bolt is located inside, on the other side of the door panel (circled in red in the top right). The harness connector has been circled in red as well, and the small green clip circled in red needs to be popped inward to release the mirror wire (make sure you are holding the mirror with something!) Door panel removal pics can be found here: NVF door panel leds

Lift it away slowly, and you will get this. There is one more small clip holding the mirror assembly to the car door (circled in red), just rotate the mirror upward and it should disengage easily.

Finally removed.

The mirror disengages by inserting a small flat head under the middle on the bottom of the mirror glass (4 small clasps holding it into the 2 small grooves at the top that it is hinged into).

Pull away rubber seal (no need to remove it), and insert LED wires (I used a CAT5 cable due to minimal current requirement) from the bottom and into the mirror housing, make sure to pull yourself some slack.


Strip wire connects, and crimp/solder the respective wires to the LED lead wires, I ran two different pairs of wires to the green and amber LEDs due to not knowing the car’s wiring yet and also leaving room for flexibility for wiring from within the door (much easier than the mirror). Hide the LED’s inside the mirror body; I put green on the inside for a halo glow, and amber on the bottom outside for an edge lighting.


Dont forget to TEST your LED wiring! Gotta make sure the LED's work as expected, easy way is to just tap the wire leads to a 9v battery to make sure it lights up.


Now time to paint. I taped off part of the mirrors, dividing them at the apex of its concave shape, forgot to take a picture of that specifically though. I then sprayed 2 solid coats of black plastidip, before realizing I needed to remove the masking tape immediately to get a solid crisp line.


Finally managed to get all the tape off, and then hung upside down to dry since both sides now had paint on them.

Arose in the morning to find it all nice and ready, feed the wires into the door, and reassembled in the opposite manner of the disassembly. when pulling the wires through the door, remember to weave it AROUND the window rails, otherwise something will have to give when you attempt to open the window. so plan ahead now to avoid cleanup later. Here is the final product installed onto the door.


The wiring of the green LED's simply tapped into the previous door LED wires that I had: power to power, ground to ground. The turn signal setup was new, but i already had an extra wire going through the grommet i could use, so i didnt have to deal with anything extra there. the ground for the amber LEDs i just connected to a bolt in the door chassis. for wiring the amber LED's to the BCM, turns out the wires (circled in green) are right by the dome light wires. verified this through the FSM and the color codes on the wires (the two you need are White and Violet)

FSM turn signal wiring diagram

Turn signal LED animation of the flashing in broad daylight.

AND FINALLY DONE
 goes perfect with my painted grill and eyelid covers, gives a nice flow to the cars shape.

thoughts? questions? lemme know!


 I'm thinking it may be nice to get a 04 ish quest to have as the family car.

